
Peel and Seal Sound Deadening

Author: Eric Dellolio
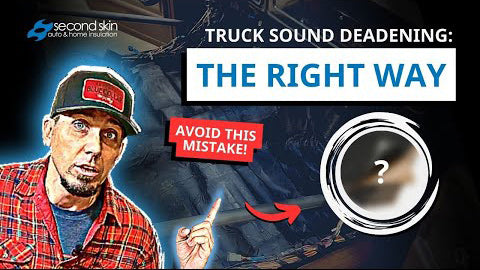
In the video below, Flannel Philip went through the annoyance of removing cheap, peel-and-seal "sound deadener" from his truck, and then installed our quality products. It was a lot of work, but in the end, he was so glad he did it.Check it out!
Peel and seal. The roofing product that somehow made it into car soundproofing projects. There are countless forum posts on using peel and seal for sound deadening, and with a little research you’ll notice there’s a mix of people warning against the product and people advocating for it.
We were hesitant to write this article, because if you’re dead set on peel and seal (usually for budget reasons) – it’s kind of a lesson you have to learn on your own. But we eventually decided to write it, primarily due to the number of calls we get where someone had an issue with an asphalt-based product. Sometimes their disaster story starts with a brand name asphalt mat that has “5 star” Amazon reviews. Sometimes it’s the actual roofing product they bought at Home Depot. The two products are remarkably similar, and score similarly on NVH testing.
Both products use an asphalt sound deadener based compound as the sound damping material and a very thin foil as the constraint layer. We have written plenty on what makes a good car sound deadener, and so if you’ve read any of those articles (or are just familiar with how vibration damping works), you’ll immediately spot why asphalt and thin foil is a combo that guarantees poor performance.
Instead of charts showing abysmal NVH scores, we figured it’d be most helpful to just summarize the most common themes we hear from customers who’ve used peel and seal as a sound deadener.
1. The smell was just too much
Not everyone has an issue with the smell, but it’s unbearable for those that it bothers. The smell tends to be worse on hot days, when the asphalt heats up and outgases. If you’re lucky, the outgassing will just be a seasonal problem. Otherwise, you’ll find yourself in a perpetual cycle of disgust and airing out your vehicle.
Everyone’s sensitivity level to smells is different. One person might not even notice a smell that drives someone else up the wall. If you are someone that is even slightly sensitive to bad smells, don’t mess with peel and seal. You’ll end up removing it.
2. The product came un-stuck and fell down
Coming unstuck is a huge problem for a vibration damper. It cannot stop vibrations if it isn’t strongly bonded to the metal (no air gaps!).
We see peel & seal come un-stuck most often on the roof and in the doors. There are two reasons the product fails in these areas. First, the metal is exposed to the sun’s heat, which transmits into the asphalt. Asphalt based mats are the first to fail when we do temperature-based adhesion tests. Second, gravity is always working against them. Peel and seal on the car’s floor at least has gravity holding it down! Just like it would on a low slope/low pitch roof, which is what the peel and seal’s adhesion is designed for.
3. The asphalt started "leaking" and dripping down on them
This is your worst case scenario. Asphalt peel and seal mats can “run” over time and will drip down the side of your door panel and pool inside the door cavity. When the dripping occurs from your roof, it’s even worse as it stains the headliner, drips to the upholstery, or can pool somewhere and become a “land mine” for your unwitting hand.
Alright, so let’s forget the worst-in-class performance. Let’s ignore the outgassing of a class 2b carcinogen. How much do you value your time? Airing out your car? Re-sticking material that’s come unstuck? Removing material that’s fallen down or dripping? Cleaning up after that drippy mess?
We like to avoid those types of problems. And so we wrote a basic formula for a made-up term to try and quantify the damage. Let's call it the Peel & Seal Adjustment Cost.
Peel & Seal Adjustment Cost =
% Chance of a Problem * Estimated Hours to Fix That Problem * $$/Hour Your Time is Worth to You
Fill in whatever values you want. Add the “Peel & Seal Adjustment Cost” to the cost of the peel and seal you expect to use as sound deadener. If the number is big, peel and seal probably isn’t right for you.


