



Table of Contents
What You'll Learn (and Why It Matters)
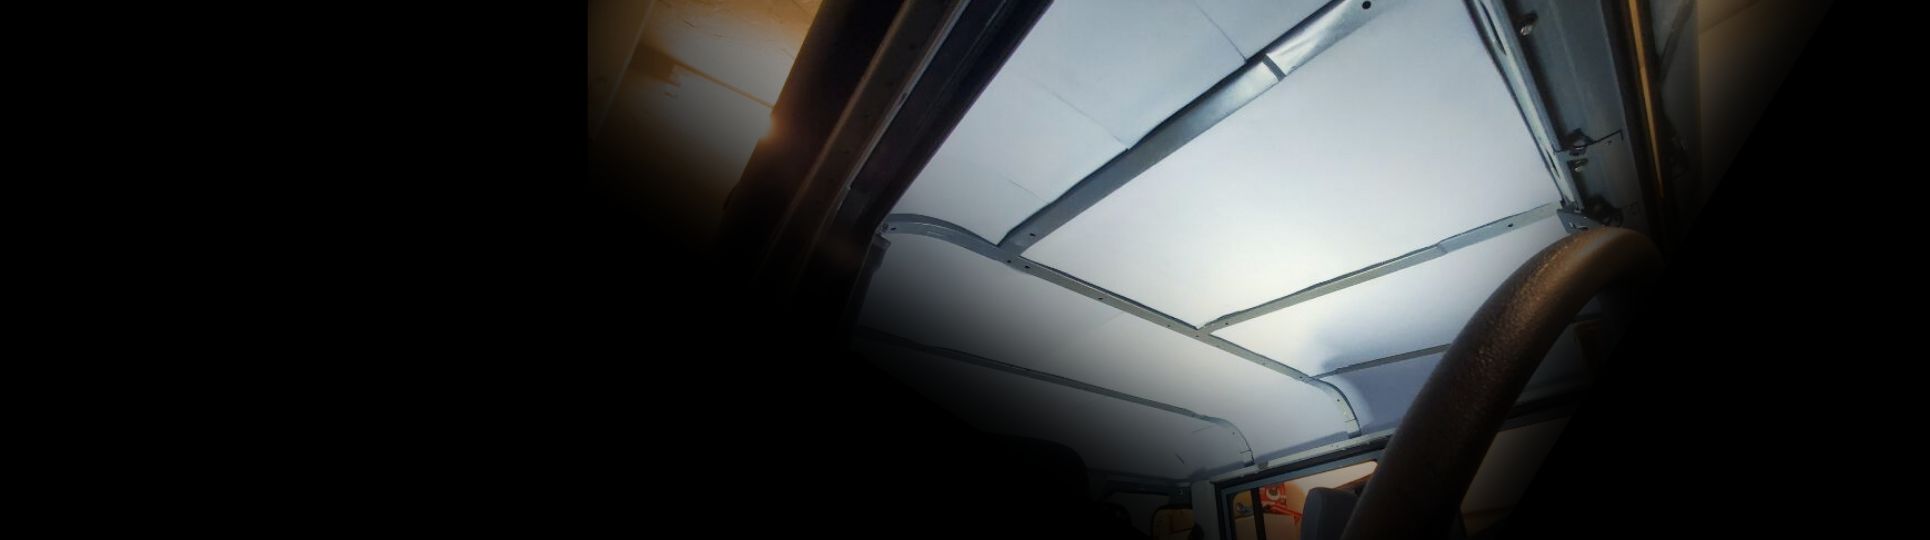
Your car’s roof is one of the largest exposed metal panels in the vehicle, which means it easily transfers heat into the cabin and allows vibration from the road and wind to pass through. Upgrading the insulation behind the headliner helps control interior temperatures and reduce structural noise.
By applying the Second Skin system, you combine a sound deadener with insulation to experience the Second Skin difference.
By the End of This Guide, You’ll Be Able To:
- Remove and reinstall your vehicle’s headliner safely without damaging clips or trim
- Apply sound deadening to the roof metal to reduce vibration and resonance
- Add thermal insulation to improve cabin comfort in hot or cold conditions
- Choose the best insulation material for your vehicle based on your goals and climate
- Use a layered system to improve both heat control and noise reduction

Skill
Intermediate

Article Read Time
~6 minutes

Build Time
1–2 hours
Key Tools and Materials You'll Need
Key Tools
Key Materials


Step-by-Step: How to Insulate a Car Roof
Step 1: Remove the Headliner and Clean the Roof
Step 1: Remove the Headliner and Clean the Roof
Step 2: Apply Sound Deadener to the Metal (Optional)
Step 2: Apply Sound Deadener to the Metal (Optional)
Key Tip
Step 3: Add Car Roof Insulation
Step 3: Add Car Roof Insulation
Step 4: Reinstall the Headliner
Step 4: Reinstall the Headliner
Which Kit Is Right For You?
| Feature | Standard Roof Insulation Kit – Heat Wave Pro | Premium Roof Insulation Kit – Mega Zorbe |
|---|---|---|
| Sound Reduction | Moderate | High |
| Thermal Protection | Great | Best |
| Best For | Daily drivers focused on heat control | Maximum cabin quiet and comfort |
| Price | Lower | Higher |
| Shop Standard Kit | Shop Premium Kit |
Experience Matters: Why Second Skin?

25+ Years
in business

3,500+
5-star reviews

Used By
professional installers and DIY enthusiasts

Made in the USA
Headquarters in Charlotte, NC

Featured In
West Coast Customs, Graveyard Carz, Gas Monkey Garage, Steve Meade, SEMA


